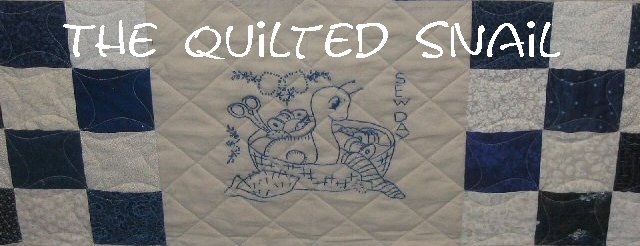
 Some time ago I had seen a quilt that had a pieced border and all 4 corners were a different block. I fell in love with that idea, and even though I can not find the picture I had saved of it at the present time. For this quilt I first added a solid border of a white-on-white fabric so that the blocks will float. And then will be added the pieced corner sections to the quilt one at a time. There will be solid white-on-white sections between the pieced sections. I will be using up fabrics left over from making the top of the quilt.
Instructions and fabric requirements for the floating border and first pieced section -
First border (solid border) -
Fabric Used -11" of background fabric or similar fabric
Cut 5 - 2-inch wide strips. Sew three of them together, end-to-end. Use them to add the side border to the quilt. Then use the remaining strips to the top and bottom of the quilt. Square up the corners.
First Corner - Checkerboard
Fabric Used - 1 - 2.5" strip of background fabric and of one of the coordinating fabrics.
Sew the strips together along the length of the strips. Press open and then cut into 2.5" sections. Sew these sections together in a checkerboard layout. Be sure to turn the sections at the corner so that the pattern will continue on around. Make as long as desired on both sides.
Note: I will be removing one or more sections from both the top and the side strips of this border because it turned out longer than I wanted. But if you choose to do this the final length is up to you!f


4 comments:
I like it! Can't wait to see the other three corners. The idea of using up fabrics in the quilt so far is a good one both for frugality and harmony of design. :-)
I was stretching to get enough green for the six blocks, so don't have enough to do real borders...actually have been considering no border.
AND I figured out a way to get squares into my quilt. A project for later this week.
This is going to be cute! I can't wait to see the other three corners. Have a super day!
Great idea, Moira. I do love the way those squares look on that corner. Looking forward to seeing what goes on other corners.
I think this is awesome..I love quilts and might even try to make one again soon
jana
Post a Comment